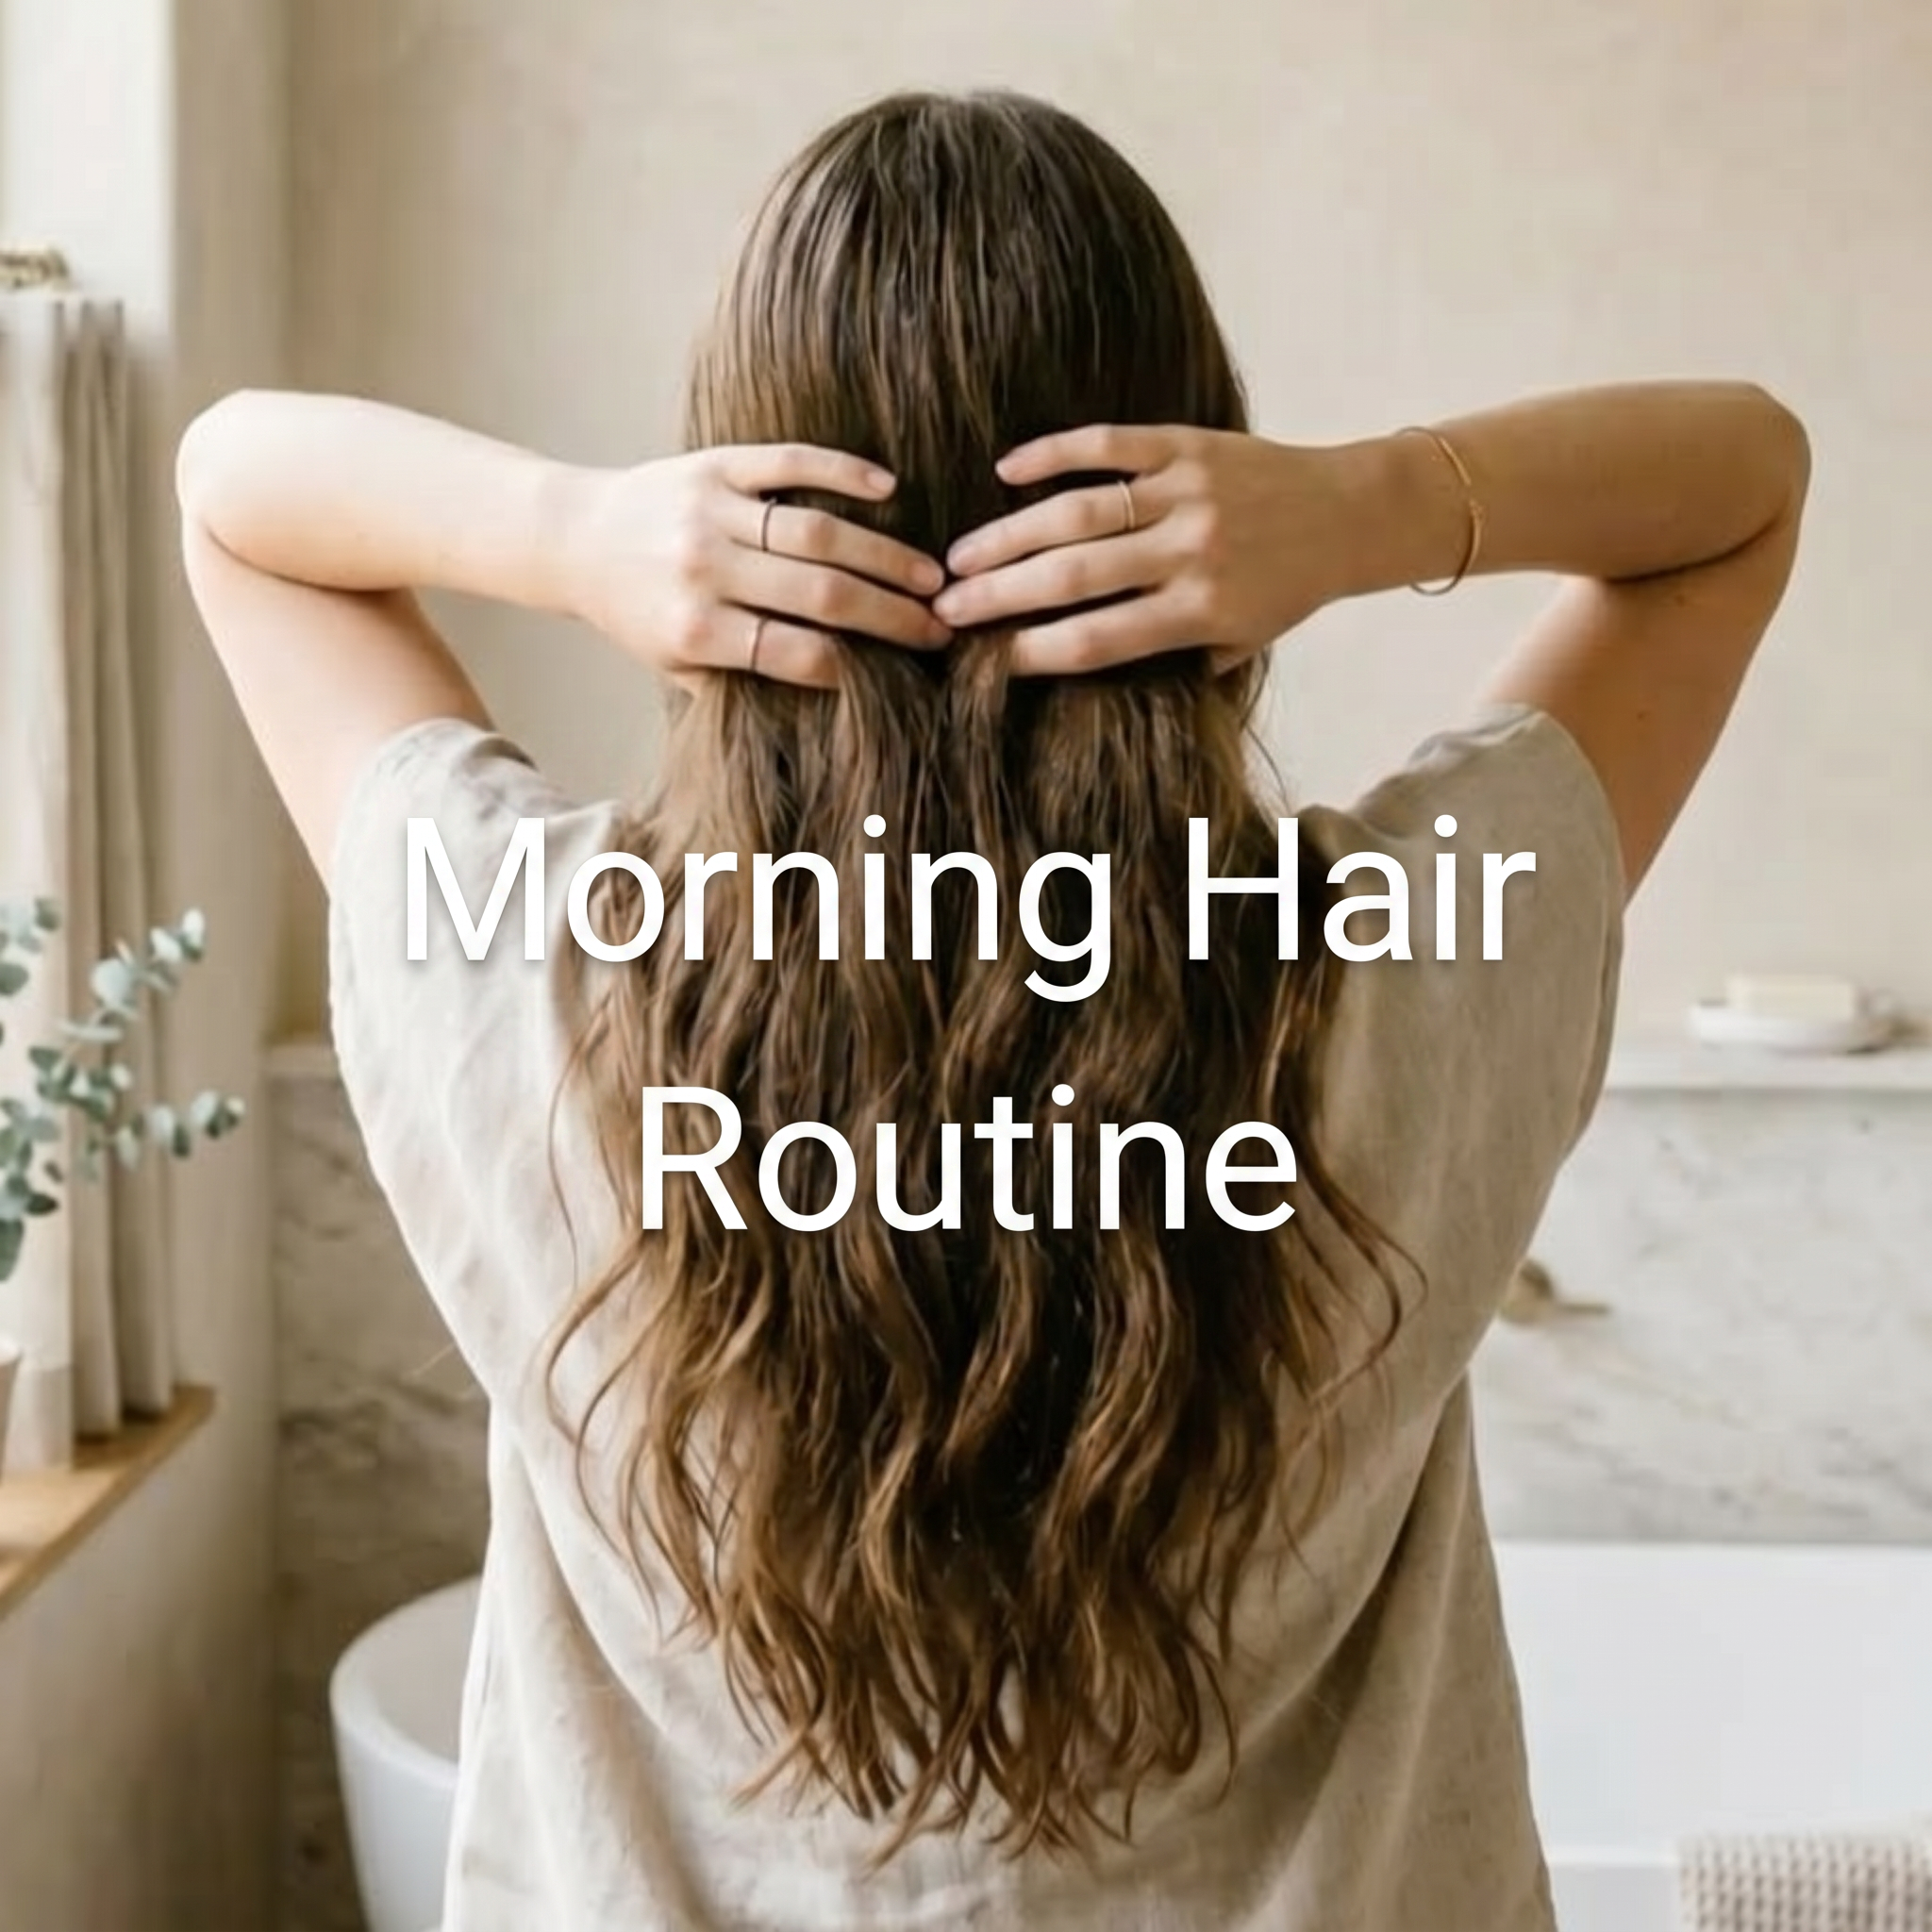
Not all hair is created equal. Learn how to achieve salon-quality styles in 15 minutes or less, customized for your specific hair type—fine, thick, curly, or straight.
Why Hair Type Matters for Quick Styling
The biggest mistake people make? Using the same technique and heat settings for all hair types. What works for thick, coarse hair will damage fine hair. What tames straight hair won't work on curly textures.
This guide breaks down the exact approach for each hair type, so you can stop wasting time with trial and error.
Fine or Thin Hair: Volume Without Damage
The Challenge
Fine hair gets limp quickly, shows heat damage easily, and struggles to hold volume. You need lift without frying your strands.
Heat Settings
Temperature: low-middle level
Why: Fine hair has a thinner cuticle that damages at lower temps than thick hair
15-Minute Routine
Step 1 (3 min): Start with hair 80% dry. Use the volumizer attachment at roots only—lift sections straight up and hold 5 seconds.
Step 2 (5 min): Switch to the hot air brush on LOW heat. Brush through mid-lengths to ends, creating tension by pulling gently as you go.
Step 3 (4 min): For loose waves, use the large barrel curling attachment (1.25-1.5 inch). Wrap sections loosely, hold 5-8 seconds max.
Step 4 (3 min): Cool shot everything—this is critical for fine hair to hold the style. Flip head upside down and blast roots with cool air for extra lift.
Pro Tips for Fine Hair
- Avoid heavy oils or serums—use a lightweight volumizing spray instead
- Don't over-brush after styling—it flattens volume
- Focus heat at roots for lift, keep ends cooler to prevent damage
- Use dry shampoo at roots before styling for extra grip and texture
✅ Best styles for fine hair: Loose waves, root volume with smooth ends, textured bob, beachy tousled look
Thick or Coarse Hair: Smooth and Control
The Challenge
Thick hair takes forever to dry, resists styling, and gets frizzy in humidity. You need enough heat to actually shape it, but not so much that you cause damage.
Heat Settings
Temperature: Max heat
Why: Thick hair has a denser cuticle that requires higher heat to reshape
15-Minute Routine
Step 1 (2 min): Section hair into 6-8 parts (more sections = faster results). Clip up what you're not working on.
Step 2 (6 min): Use the hot air brush on MEDIUM-HIGH heat. Work in small sections, brushing slowly from root to tip. The key is tension—pull tight as you brush.
Step 3 (4 min): For sleek straight: Use the straightener attachment, glide through once per section. For curls: Use the curling barrel, hold 10-12 seconds.
Step 4 (3 min): Cool shot each section immediately after heat styling. This seals the cuticle and prevents frizz from creeping back in.
Pro Tips for Thick Hair
- Smaller sections = better results. Don't try to style too much hair at once
- Use a heat protectant spray—thick hair can handle heat but still needs protection
- Work bottom layers first, top layers last (they dry fastest)
- A pea-sized amount of anti-frizz serum on damp hair helps smooth the cuticle
✅ Best styles for thick hair: Sleek straight, defined curls, smooth blowout, polished waves
Curly or Wavy Hair: Define Without Frizz
The Challenge
Curly hair is naturally drier and more prone to frizz. You want to enhance your natural texture or smooth it out—without creating a poof ball.
Heat Settings
Temperature: Middle-Max Heat
Why: Curly hair is more fragile due to its structure—moderate heat with good technique works best
15-Minute Routine (Enhancing Natural Curls)
Step 1 (2 min): Apply a curl-defining cream to 80% dry hair. Scrunch upward to encourage curl formation.
Step 2 (6 min): Use the diffuser attachment (if available) or the hot air brush on LOW speed. Cup curls in your palm and dry gently—don't disrupt the curl pattern.
Step 3 (4 min): For definition, use the small barrel curling attachment (0.75-1 inch) to re-curl any frizzy or limp sections. Wrap around the barrel, hold 8 seconds.
Step 4 (3 min): Cool shot while scrunching curls upward. This sets the curl and adds shine without frizz.
15-Minute Routine (Smoothing Curls Straight)
Step 1 (2 min): Section hair into 6-8 parts. Apply a smoothing serum to each section.
Step 2 (6 min): Use the hot air brush on MEDIUM heat. Pull sections taut and brush slowly, following with the heat. This stretches the curl.
Step 3 (4 min): Follow with the straightener attachment. Glide through each section once—don't clamp and hold, keep it moving.
Step 4 (3 min): Cool shot to lock in the smooth finish and prevent reversion in humidity.
Pro Tips for Curly Hair
- Never brush dry curly hair—it creates frizz. Detangle when damp with a wide-tooth comb
- Use the cool shot religiously—it's what prevents frizz from forming
- For natural curls, less is more. Over-styling disrupts the curl pattern
- Sleep on a silk pillowcase or use a silk bonnet to preserve curls overnight
✅ Best styles for curly hair: Defined ringlets, loose beachy waves, sleek straight (for special occasions), half-up with natural texture
Straight Hair: Add Texture and Movement
The Challenge
Straight hair can look flat and lifeless. You want to add waves, curls, or volume without it falling out in an hour.
Heat Settings
Temperature: 300-370°F (depending on thickness)
Why: Straight hair needs enough heat to create a new shape, but the cool shot is what makes it last
15-Minute Routine
Step 1 (2 min): Spray a texturizing or sea salt spray on 80% dry hair for grip. Straight hair is slippery and doesn't hold styles well without texture.
Step 2 (5 min): Use the volumizer attachment at roots for lift. Focus on the crown and top layers.
Step 3 (5 min): For waves: Use the curling barrel, alternating directions (one section toward face, next away from face). Hold 8-10 seconds. For sleek: Use the straightener attachment with a slight bend at the ends.
Step 4 (3 min): Cool shot is non-negotiable. Straight hair loses shape quickly without proper cooling. Blast each curled section for 5 seconds.
Pro Tips for Straight Hair
- Use a texturizing product before styling—it gives hair grip so styles last longer
- Don't touch curls until they're completely cool (at least 30 seconds after styling)
- Alternate curl directions for a more natural, lived-in look
- A light hairspray after cooling helps lock in waves for all-day hold
✅ Best styles for straight hair: Loose waves, voluminous blowout, textured ends, sleek with flipped ends
Why a 6-in-1 System Works for All Hair Types
The beauty of the GLAMUP FusionPro is that you're not locked into one styling method. You can:
- Adjust heat settings for your specific hair type (fine, thick, curly, straight)
- Switch attachments in seconds to match your desired style (volume, smooth, curl, wave)
- Work on 80% dry hair to cut down total styling time across all hair types
- Use the cool shot to lock in styles regardless of texture
Traditional Approach:
Buy separate tools for different styles → $200-400 total → cluttered bathroom → 25-35 minutes per routine
6-in-1 System Approach:
One tool, 6 attachments → One-click swaps → No preheating → 10-15 minutes per routine
Real benefit: You're not guessing which tool to buy for your hair type. You have all the options in one system, so you can experiment and find what works best for YOU.
Common Questions by Hair Type
Q: My fine hair gets damaged easily. Can I still use heat daily?
A: Yes, if you use LOW heat (250-320°F), always apply heat protectant, and finish with a cool shot. The cool shot is what reduces the need for repeated heat passes, which is where most damage happens.
Q: My thick hair takes 45 minutes to style. How can I cut that in half?
A: Three things: (1) Start on 80% dry hair, not soaking wet. (2) Use smaller sections—counterintuitively, this is faster because heat penetrates better. (3) Use a multi-attachment tool so you're not waiting for tools to heat up between steps.
Q: My curls always frizz by midday. What am I doing wrong?
A: You're probably skipping the cool shot. Heat reshapes hair, but cool air is what seals the cuticle and locks in the style. Also, use an anti-humidity product if you live in a humid climate.
Q: My straight hair won't hold curls. Any tips?
A: Use a texturizing spray before curling (gives hair grip), don't touch curls until they're completely cool, and blast each curl with cool air for 5+ seconds. The cooling step is critical for straight hair.
Q: Can I use the same tool for both straightening and curling?
A: Absolutely. That's the whole point of a 6-in-1 system like the FusionPro. You can straighten your roots for smoothness, then curl the ends for movement—all in one routine with one-click attachment swaps.
Final Thoughts
There's no one-size-fits-all approach to hair styling. What works for your friend's thick, straight hair won't work for your fine, wavy hair.
The key is understanding your hair type, using the right heat settings, and having tools versatile enough to adapt to your needs. A quality 6-in-1 system gives you that flexibility without the clutter and expense of multiple devices.
Start with the routine for your hair type, adjust based on results, and remember—the cool shot is your secret weapon for making any style last.
What's your hair type and biggest styling challenge? Share in the comments!


