

How to Create Long-Lasting Curls with GLAMUP AirCurler™
FAQ & Tutorials

Boar Bristle vs. Nylon Hair Brushes: Which Should You Use?
Choose boar bristles for surface smoothing, nylon pins for reach through the hair, or a brush combining both for everyday versatility. The right choice depends less on which material sounds more premium and more on what you want your brush to do.Are you brushing through your hair before heading out, or putting the finishing touches on a slick-back bun? Those are different jobs.Boar Bristles: For a Smoother FinishBoar bristles help guide surface strands into place and distribute natural scalp oils along the hair. They’re useful for polishing already-detangled hair, smoothing a ponytail, or refining a sleek bun.A brush with short, soft bristles may skim over the surface rather than reach every layer, especially if your hair is dense. Bristle length and brush construction matter alongside the material.Nylon Pins: For Reach Through the HairNylon pins can reach layers that shorter, softer bristles may miss. Their length, spacing, flexibility, and tip design all influence how the brush feels.If a brush meets resistance, don’t press harder or pull through the knot. Work gently in smaller sections, starting at the ends with a suitable detangling tool.Boar Bristles with Supporting Nylon PinsYou don’t always have to choose one material over the other. A boar bristle brush with supporting nylon pins combines surface smoothing with additional reach.This is worth considering if you like the finish of boar bristles but want more help reaching through your hair. Choose for your routine, rather than treating one material as automatically better.One Boar Bristle Brush, Two Ways to StyleThe GLAMUP 2-in-1 Interchangeable Boar Bristle Acetate Paddle Brush features two interchangeable pads, each pairing natural boar bristles with a small amount of supporting nylon pins.Choose the pad with ball-tipped pins for everyday brushing, or switch to the pad with pins without ball tips for refining sleek ponytails and buns.The acetate handle stays the same; you change the brushing surface to suit the task. Classic tortoiseshell and elegant pink marble finishes bring a decorative touch to your vanity.If your routine moves between loose hair and sleek updos, that’s the appeal: the smoothing role of boar bristles, with two pad designs in one brush.
Learn more
What Does a Boar Bristle Brush Actually Do?
A boar bristle brush helps smooth surface strands and distribute natural scalp oils along the hair. It can give already-detangled hair a more polished appearance, but it won’t repair damage, wash away oil, or replace every detangling tool.Understanding that difference helps you get more from your brush and avoid expecting it to do the wrong job.It Helps Smooth the Hair’s SurfaceBoar bristles make contact with surface strands, helping guide them into place. This can be useful when tidying loose hair, refining a ponytail, or finishing a slick-back bun.Think of it as grooming rather than a treatment. A smoother-looking finish doesn’t mean damaged strands have been repaired, and results will vary with your hair texture and styling routine.It Redistributes Oil Rather Than Removing ItBrushing can move some of the natural oils near your scalp along your hair. That may change how the lengths look and feel, but the oil hasn’t disappeared.If your hair already looks oily, repeated brushing may not give you the fresher finish you want. A boar bristle brush isn’t a substitute for washing, and a brush carrying residue needs cleaning according to its care instructions.It Can Help Refine a StyleA finishing brush helps position hair; a styling product provides hold.That distinction matters for flyaways. You may be able to brush them into place temporarily, while a product suited to your hair helps maintain the finish. More brushing isn’t always the answer when strands keep springing back.What It Cannot DoA boar bristle brush cannot permanently mend split ends or reverse existing damage. It also shouldn’t be forced through stubborn knots.Nor is a sleek finish the right goal for every hairstyle. If you want to preserve natural curl definition, brushing for surface smoothness may work against the look you’re trying to keep.Where an Interchangeable Brush Fits InThe GLAMUP 2-in-1 Boar Bristle Acetate Paddle Brush offers two interchangeable pads, each combining natural boar bristles with a small amount of supporting nylon pins.Use the ball-tipped pad for everyday brushing, or switch to the pad without ball tips for refining sleek styles. The acetate handle stays the same, in classic tortoiseshell or elegant pink marble.Its value is practical versatility: two brushing surfaces for different styling tasks, rather than a promise that one brush can solve every hair concern.
Learn more
Can the GLAMUP AirCurler Create Long-Lasting Curls?
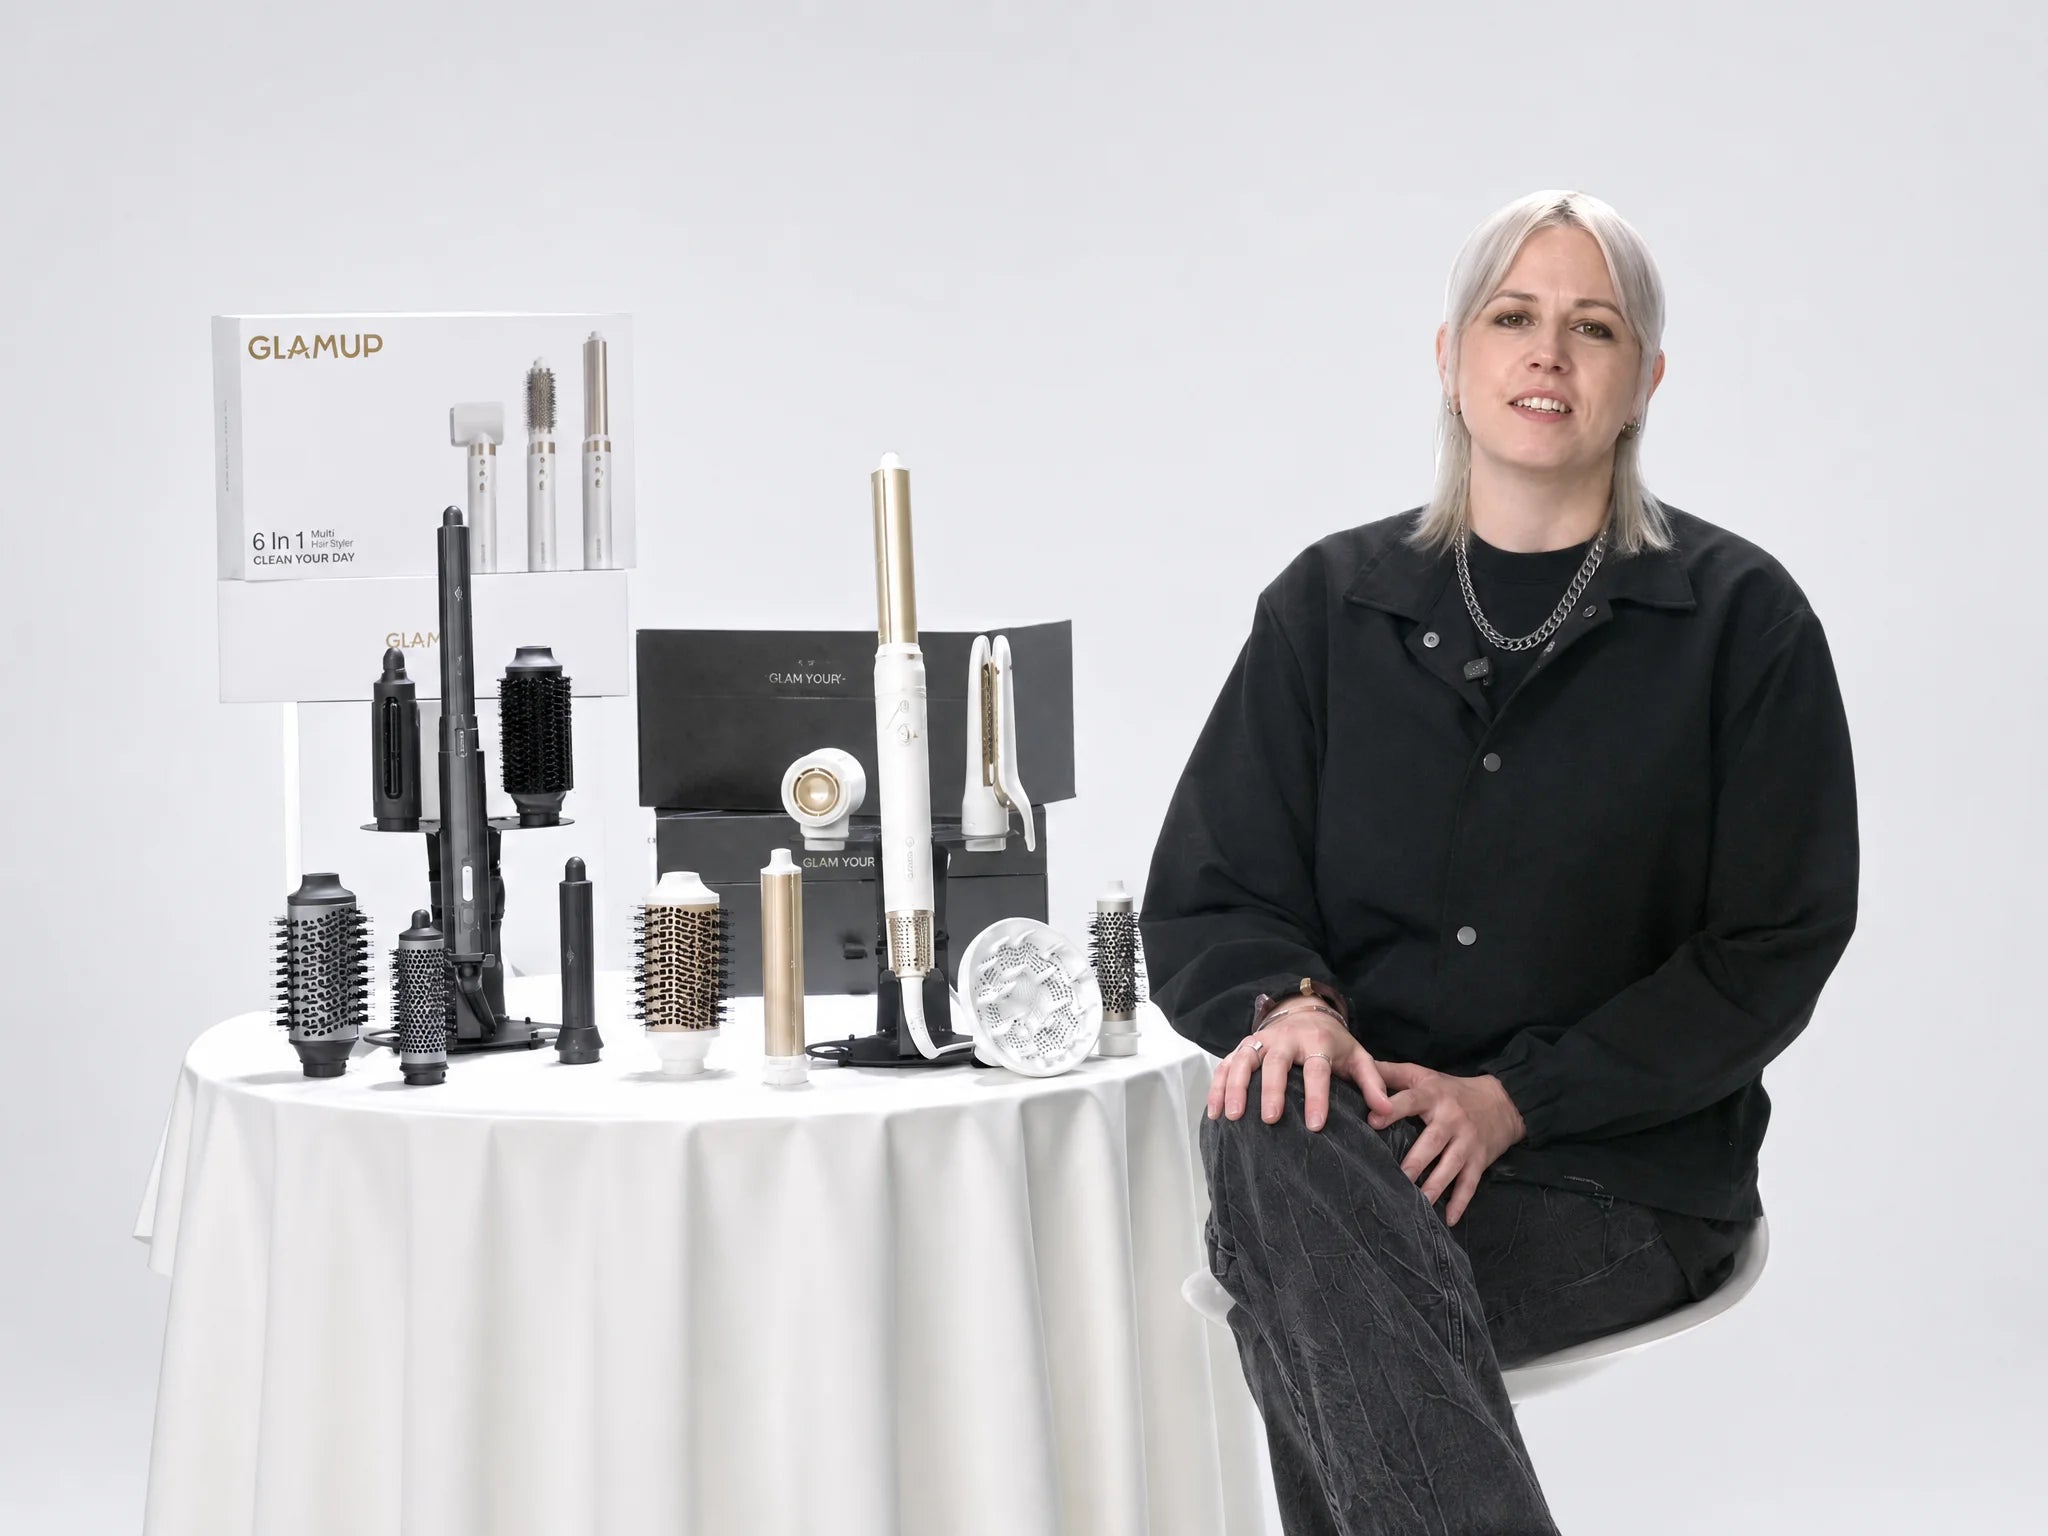
It’s one of the first questions I’d ask before buying an air styler: the curls look great when they come off the barrel, but will they actually last? The short answer is yes—but I wouldn’t promise the same result for every person. Hair type, section size, starting moisture, humidity and even when you brush out your curls can all affect how long they hold. The tool matters too. And with an air styler, there’s more to look at than whether it can simply wrap hair around a barrel. Coanda Is Only Part of the Story The AirCurler uses Coanda airflow to attract hair and wrap it around the curling barrel automatically. But getting hair onto the barrel is only the beginning. What matters next is how that airflow reaches the hair once it’s wrapped. The AirCurler barrel is designed with airflow outlets distributed along its length, helping deliver more consistent styling airflow across the wrapping area. Why does that matter? If effective airflow is concentrated toward one part of a barrel, the ends may curl well while the mid-lengths remain noticeably looser. This becomes even more important with long hair. AirCurler pairs its airflow design with an extra-long 6.3-inch barrel, giving longer sections more usable space to wrap and style. So I wouldn’t judge an air styler only by how strongly it grabs your hair. The wrap gets the hair onto the barrel; the airflow along the barrel helps shape the curl. How Do You Make AirCurler Curls Last Longer? Technique makes a bigger difference than many first-time air-styler users expect. Start with slightly damp hair. We recommend around 80% dry rather than soaking wet. Too much moisture means the tool has to spend more time drying the section before it can effectively style it. Use smaller sections. Trying to wrap too much hair at once can make it harder for the airflow to work evenly through the section. Give the curl time to form. Let the warm airflow shape the hair rather than releasing it as soon as it wraps. And most importantly, finish with the Cool Shot for around 5–10 seconds before releasing the curl. Warm air helps create the shape; cooling the hair while it is still wrapped helps set it. Once released, let the curl cool completely before brushing or separating it. If your curls tend to fall quickly, this is the first part of your routine I’d check. What If My Hair Doesn't Hold Curls Easily? Some hair simply needs a little more help. Fine, very straight hair may benefit from a lightweight mousse or setting product, while thicker or coarser hair may need a higher heat setting or a little more styling time. Long, heavy hair can naturally relax into softer waves as the day goes on. Humidity matters too. That’s why I’d be cautious of any air styler promising a specific number of hours for everyone. Long-lasting curls are a combination of the tool, your technique and your hair. If you’re struggling with curl retention, our guides to the 80% Dry Rule and using the Cool Shot go deeper into both techniques. So, Can AirCurler Curls Last? Yes. AirCurler is designed to give you the things that matter when forming and setting an air-styled curl: Coanda auto-wrapping, airflow distributed along the barrel, an extra-long 6.3-inch curling barrel, controlled heat and a Cool Shot. But there’s no need to chase extreme heat. Start slightly damp, work in manageable sections, give the curl time to form, cool it before release and wait before brushing it out. Sometimes, better hold comes down to those few extra seconds. Explore the GLAMUP AirCurler™ 6-in-1 Hair Styler →
Learn more
Best Dual Voltage Multi Styler for International Travel | GLAMUP
If I were choosing one hair tool specifically for international travel, I’d start with two questions: Will it work at my destination, and can it replace the other styling tools I normally pack? That’s where a dual voltage multi styler starts to make sense. Instead of packing a hair dryer, curling iron, straightener and round brush separately, a multi styler combines several styling functions into one system. But not every travel hair styler—or even every multi styler—is designed for use across different voltage systems. Here’s what I’d check before putting one in my suitcase. 1. Start With the Voltage, Not the Plug The first thing I’d look for is a clearly stated voltage range, such as 110–240V. Why? Because a travel plug adapter and dual voltage are not the same thing. An adapter helps the plug fit a different outlet. It doesn’t make a single-voltage hair tool compatible with every electrical system. So before traveling internationally, I’d always check the voltage printed on the specific tool and then check whether I also need a plug adapter for my destination. 2. Decide Whether You Need a Hair Dryer Brush or a Multi Styler This is probably the biggest decision. If all I want is a simple blowout, a dual voltage hair dryer brush may be enough. It’s one tool designed around one main styling routine. But if I want to curl my hair one day, smooth or straighten it the next, add volume at the roots, and still have a drying function, I’d rather use a dual voltage multi styler. For me, that’s the real travel advantage: not just packing a smaller tool, but replacing several tools with one styling system. 3. Look at the Attachments You’ll Actually Use I wouldn’t choose a multi styler simply because it has the highest number of attachments. I’d look at what those attachments actually let me do. For example, if I regularly switch between curls, straighter styles and a voluminous blowout, I’d want attachments that genuinely cover those different looks. Hair length matters too. For longer hair, I’d pay attention to the usable length of the curling barrel. More barrel space can make it easier to work with longer sections of hair without constantly repositioning them. 4. Think About Where You’re Going A good international travel styler should make the electrical side of travel easier—not more confusing. For trips between regions such as the US, Europe, the UK and Australia, I’d check: the voltage range of the styler; the plug type used at my destination; and whether I need a simple plug adapter. I’d do this before every trip rather than assuming that a tool described as “travel-friendly” will work everywhere. What About an Airwrap for International Travel? I’d use the same rule with an Airwrap or any other air styler: check the voltage rating of the exact model you own. A plug adapter changes how the plug connects to the outlet; it doesn’t change the voltage requirements of the appliance. That’s also why a dual voltage Airwrap alternative can be worth considering if international travel is a priority. I wouldn’t just look for something that creates similar curls. I’d look for a multi styler that gives me the styling options I actually use while supporting the voltage range I need for travel. Why We Made the GLAMUP AirCurler Dual Voltage This is exactly the problem we wanted the GLAMUP AirCurler™ 6-in-1 Dual Voltage Multi Styler to solve. It supports 110–240V and combines multiple styling functions in one system, including Coanda auto-wrapping for curls, smoothing, volumizing and straightening options. We also gave the AirCurler extra-long curling barrels, because having more usable barrel space can make a real difference for longer hair. And rather than making everyone travel with the exact same setup, AirCurler is available with different attachment configurations so you can choose the set that better matches how you style your hair. For me, that’s what a travel multi styler should ultimately do: replace the tools I don’t want to pack, give me enough styling options for the trip, and remove the guesswork around voltage compatibility. Explore the GLAMUP AirCurler™ 6-in-1 Dual Voltage Multi Styler →
Learn more
Can You Use a Boar Bristle Brush on Wet or Curly Hair?
For wet detangling, choose a wide-tooth comb or a tool designed for wet hair, not a dense boar bristle finishing brush. For curls, decide whether you want to preserve their definition or brush them into softer waves.Here’s when to use a boar bristle brush, and when to choose something else.Wet Hair: Choose a Detangling ToolDon’t use a boar bristle finishing brush to pull through wet knots.For straight hair, let it dry a little before gently detangling with a wide-tooth comb. For naturally curly or coily hair, detangle while wet or damp with conditioner, using your fingers, a wide-tooth comb, or a suitable curl-detangling brush.Work in sections, start at the ends, and avoid forcing the tool through resistance.Natural Curls: Don’t Dry-Brush If You Want DefinitionIf your goal is to keep natural curl clumps intact, don’t brush through them with a boar bristle brush once dry. Brushing separates those clumps and can leave the style looking puffier or frizzier.A slick-back bun is a different goal: you’re deliberately smoothing the surface rather than preserving loose curls. Keep that finishing step separate from detangling.Heat-Styled Curls: Let Them Cool FirstAfter using a curling iron or air styler, let your hair cool completely before brushing.Once the curls have set, gentle brushing can blend separate curls into softer waves. Stop when you reach the shape you want. Brushing more won’t necessarily make the result smoother, and a brush alone won’t create a structured Hollywood wave.If you want to keep distinct curls, separate them gently with your fingers instead.Where the GLAMUP Brush FitsThe GLAMUP 2-in-1 Boar Bristle Acetate Paddle Brush offers two interchangeable pads with natural boar bristles and a small amount of supporting nylon pins.Choose the ball-tipped pad for everyday brushing, or the pad without ball tips for refining sleek styles. For this routine, keep it to dry-hair grooming and finishing, not wet detangling.The rule is simple: choose your tool for the result you want. Detangle with a suitable tool, preserve natural curls by avoiding dry brush-throughs, and let heat-styled curls cool before softening them into waves.
Learn more
How to Get a Sleek Slick-Back Bun Without Bumps
A sleek slick-back bun starts with sectioning, not pulling harder. Detangle first, guide your hair toward the bun in manageable sections, then smooth the surface before securing it.If your bun looks bumpy or flyaways keep springing up, more gel isn’t always the answer. Try separating preparation from finishing.1. Set Your Part and Bun PositionChoose a middle part, side part, or brushed-back look, then decide where your bun will sit. A low bun is a straightforward starting point.Set the direction before gathering your hair so you aren’t repeatedly brushing sections into a new position.2. Detangle Before You SmoothWork through tangles gently with a suitable tool, starting at the ends and moving upward.For dense hair, use smaller sections so you reach underneath, not just across the top. Your finishing strokes should guide the hair, not fight knots.3. Gather Your Hair in SectionsSeparate the top section from the hair underneath. Gather the lower section first, then bring the top section over it toward your chosen bun position.Use your free hand to hold each section in place. If you spot a bump, loosen and reposition that area instead of tightening the entire ponytail.4. Refine the Surface with a Boar Bristle BrushOnce your hair is gathered, use short, controlled strokes toward the ponytail to tidy the surface.The GLAMUP 2-in-1 Boar Bristle Acetate Paddle Brush has two interchangeable pads: boar bristles with supporting ball-tipped nylon pins for everyday brushing, and boar bristles with supporting pins without ball tips for refining sleek styles.Switch pads when you move from everyday brushing to surface finishing, while keeping the same acetate handle.For extra hold, apply a small amount of a styling product suited to your hair, following its directions. A brush helps position strands; it doesn’t replace a holding product.5. Secure, Then Stop AdjustingSecure your ponytail, twist the length into a bun, and fasten it with suitable pins or a hair tie.Check the sides and back, then make only the adjustments you need. Repeated brushing can disturb sections you’ve already smoothed.Your bun should feel comfortable. If it hurts or pulls at your hairline, loosen it. A polished finish shouldn’t depend on uncomfortable tension.
Learn more
Best Dyson Airwrap Dupe 2026: GLAMUP FusionPro™ Delivers 95% of Performance at 60% Less
Discover the best Dyson Airwrap dupe in 2026. GLAMUP FusionPro™ matches Dyson's 110,000 RPM motor, Coanda technology, and professional results at $249 vs $599. Honest comparison for US & Australian customers.
Learn more
How to Use the Air Curler for Beginners
New to multi hair stylers? This step-by-step guide shows you how to use your 6-in-1 hair styler and air wrap tools to achieve salon-quality results at home!
Learn more
The One Minute Updo: How to Elevate Your Look Without Trying Too Hard
One minute, one clip, effortless chic. Discover how the right hair accessory can transform your everyday look — and why Quiet Luxury starts with what holds your hair.
Learn more